
Northern Lights Photography Tips — Settings, Gear & Tricks for Beginners
A Penguin Trampoline practical guide for beginners and advanced photographers so you don’t end up with a green blob. Learn how to photograph the Northern Lights with the right camera settings, gear, and techniques!

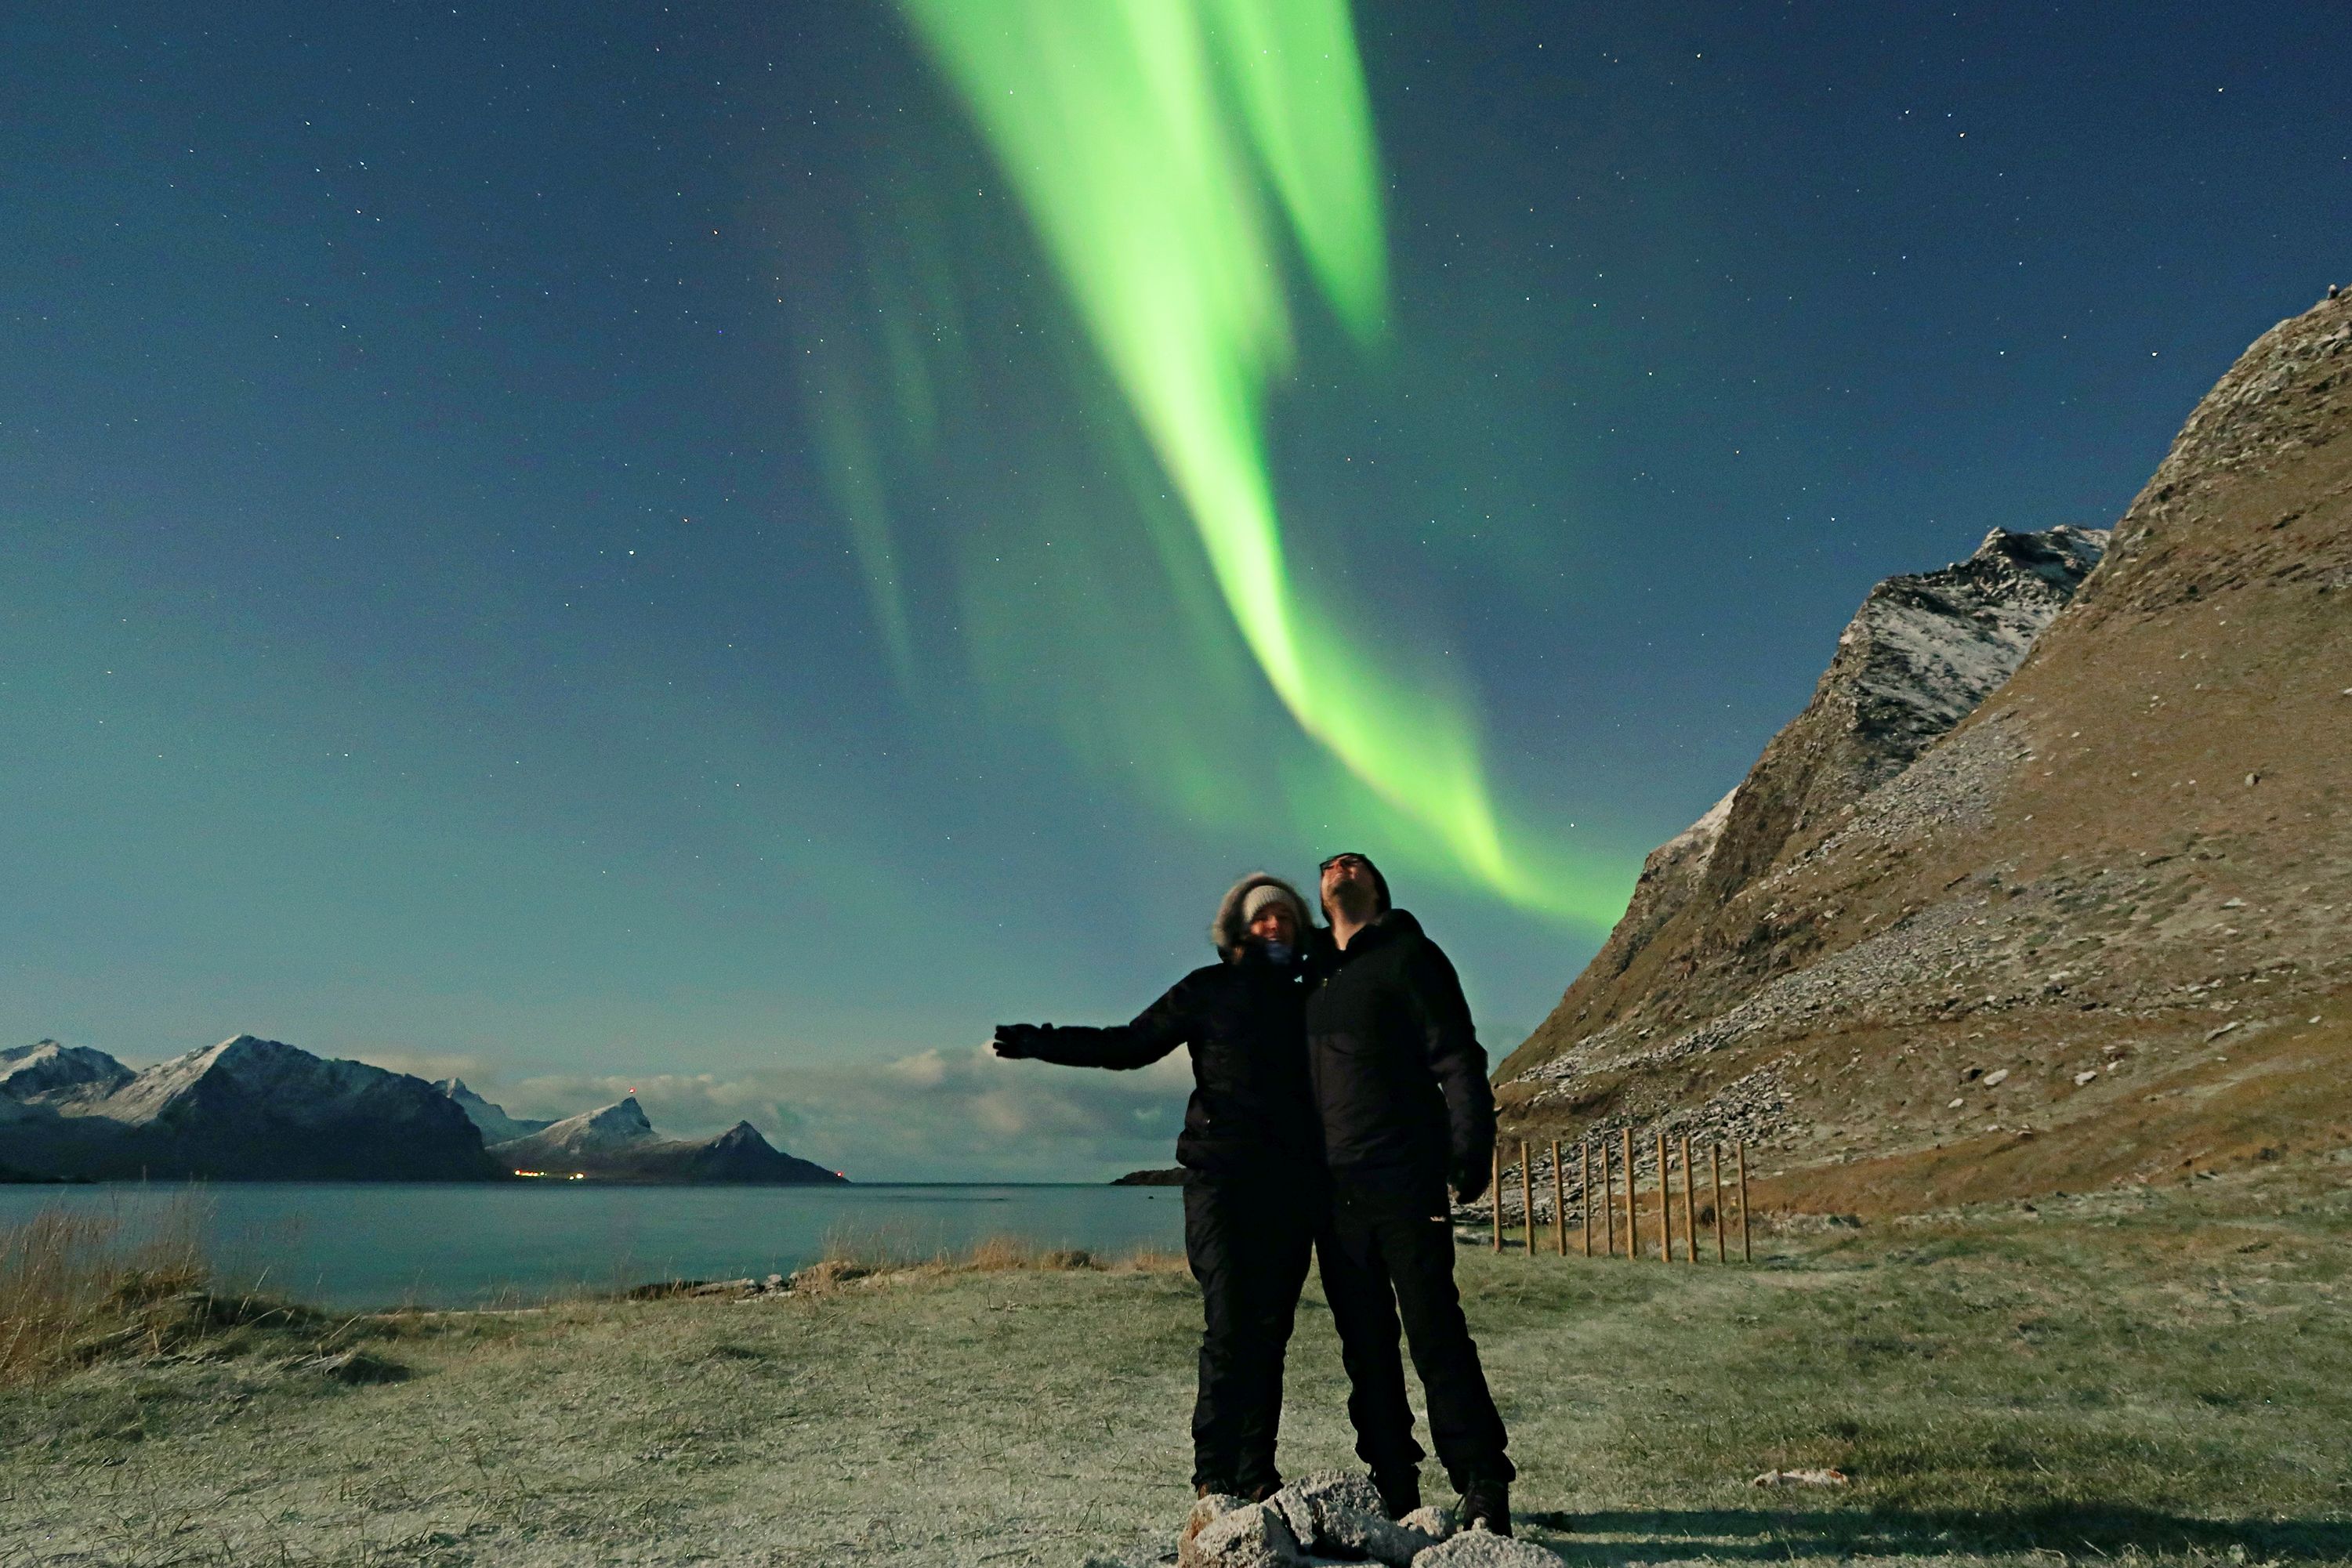
Magic night in the Lofoten Islands!
Last update: November 14, 2025
The aurora is wild enough on its own. But try to photograph it and suddenly you’re fighting the dark, the cold, and a camera that refuses to focus. And by the time you figure it out, Lady Aurora is already gone. Don’t panic: you don’t need to be a pro to bring home shots that look like they belong on a postcard — or at least on Insta. You just need a little prep, the right gear, and a few tricks to outsmart the Arctic night.
This is your beginner-friendly guide to photographing the Northern Lights — no tech snobbery, no 200-page manual, just clear steps to help you capture the sky on fire.
Want the full guide? Check our exhaustive article: Northern Lights for Dummies.
Spoiler alert: You might have all the equipment and technology in the world and great weather, but nature is always unpredictable… and that’s part of the magic! If you don’t get lucky, don’t give up. It’s worth trying and trying again. The reward will be even more amazing!
Plan your trip: northern lights hotels and car rentals to chase the aurora
How to photograph the northern lights: Quick answer (because the lights won’t wait)

These northern lights were a complete surprise, so we rushed outside our accommodation in the Lofoten islands. That’s why you want to have your camera settings ready!
This article is meant to be straight to the point so you can get started immediately. For more detailed settings, you can get a pro northern lights photography guide.
Tripod: Non-negotiable.
Camera mode: Manual (M).
Focus: Infinity (set before heading out).
Settings to start:
Aperture f/2.8 (or widest your lens allows).
Shutter speed 5–15 seconds.
ISO 800–3200 depending on brightness
Pro tip: Take test shots and adjust. The aurora is a diva — conditions change fast.
No tripod? No problem
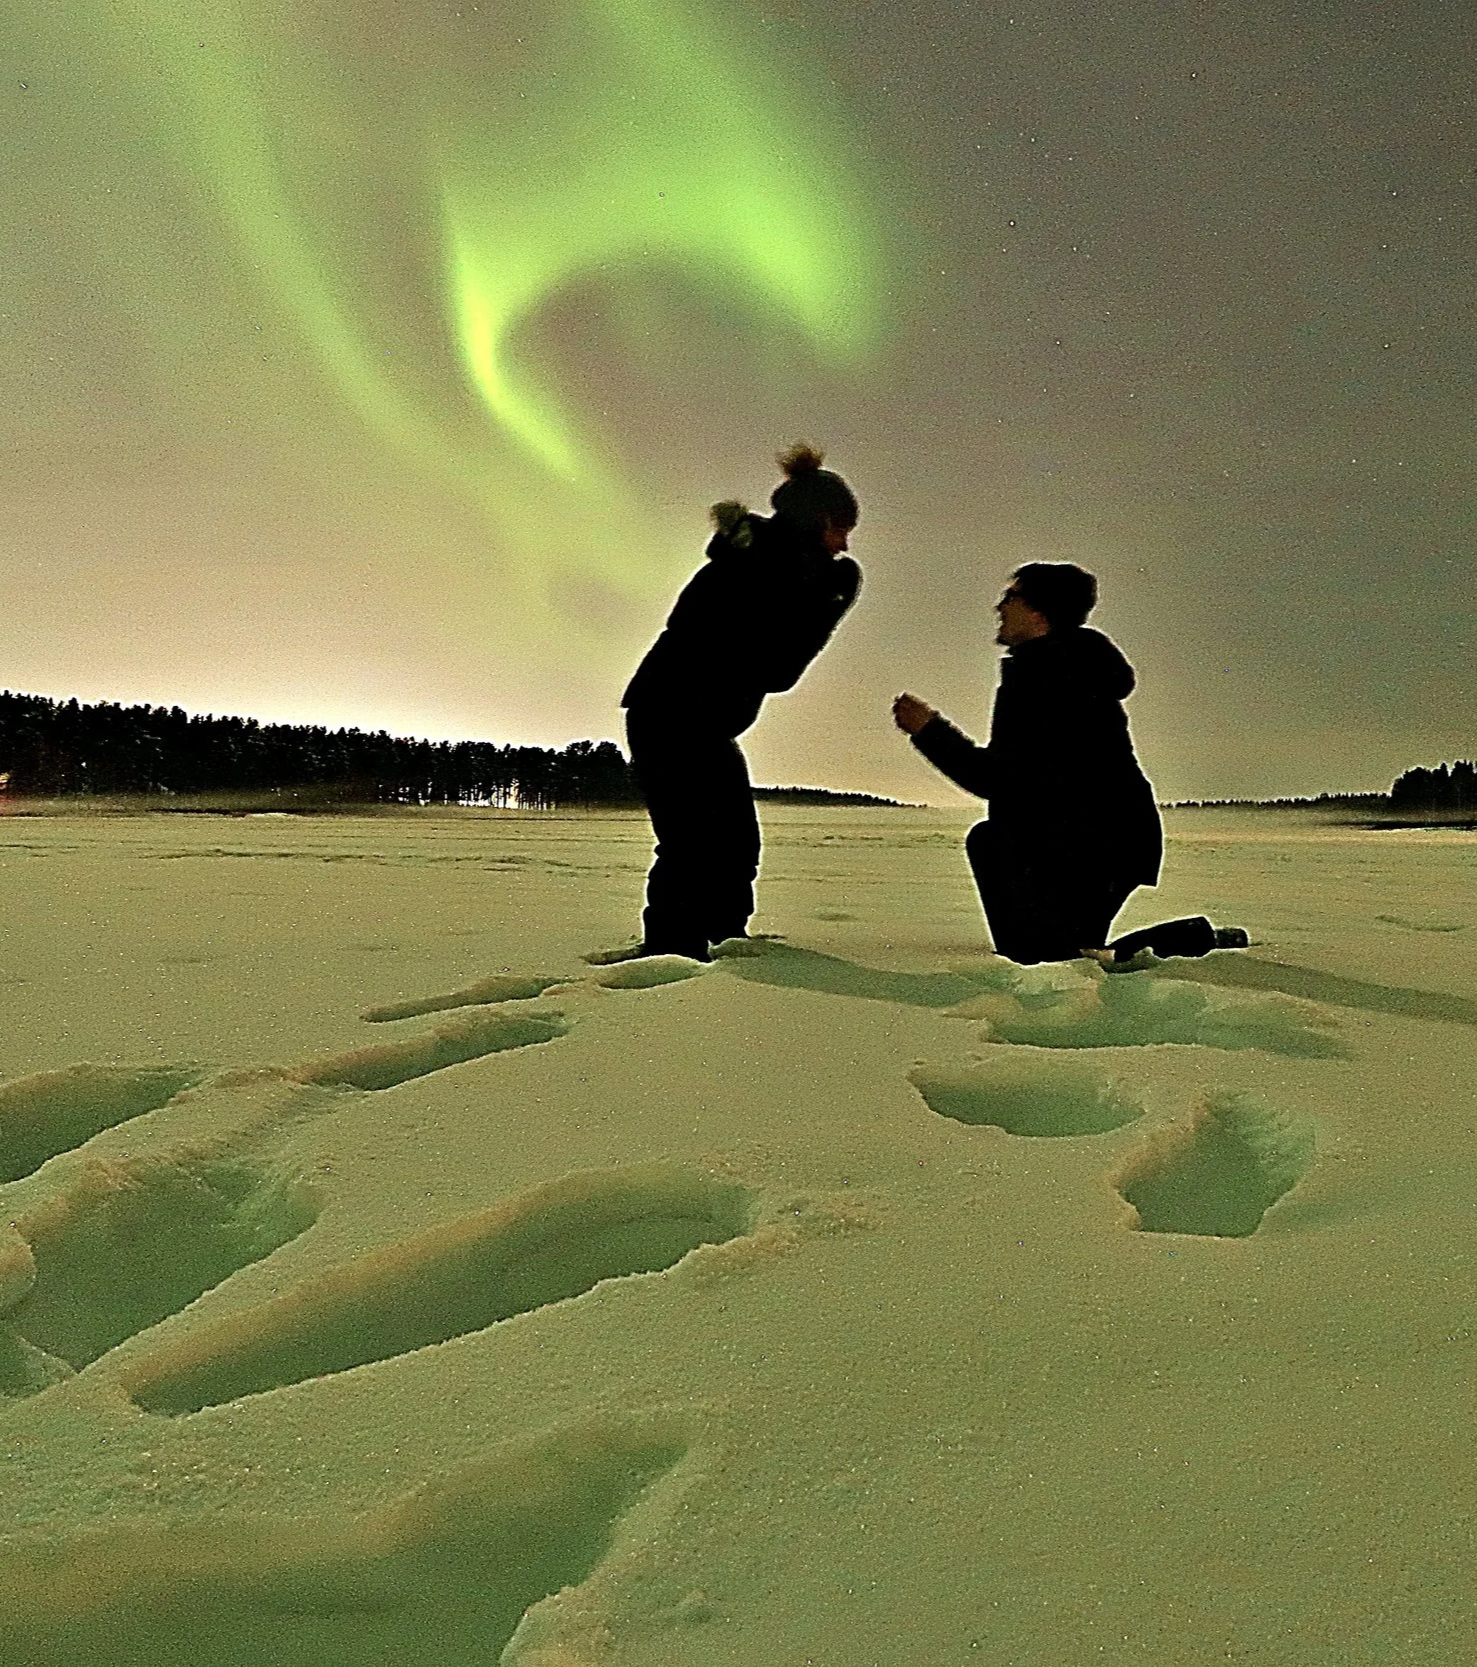
Lady Aurora doesn’t give warnings. If you forgot your tripod, improvise! A mini foldable tripod balanced on a log, a rental car roof, or even a trash can will keep your camera steady enough for a long exposure. We’ve propped gear on backpacks, dragged benches into fields, and once lined up every random object we could find — including Jake’s back — in the middle of a frozen lake. This staged pic is the proof!

Gear you’ll actually need

I installed my camera on a mini tripod on the outdoor table of my accommodation in Alta, Norway, and set a timer. Then, I tried to stay still!
Camera
DSLR or mirrorless like this one: Best choice — more control, less noise.
Smartphone: Newer models can work surprisingly well in “Night Mode.” Add a tripod, and you’ll be amazed. You can also get a lens kit.
Lens
Wide angle (14–24mm) lets you capture sky + landscape.
Fast aperture (f/2.8 or lower) = more light, less blur.
Tripod
Absolutely essential — even the steadiest hands won’t manage 10-second exposures.
Our pick: lightweight travel tripod that doesn’t sink in snow.
Remote shutter / timer
Prevents camera shake. Use a remote or your 2-second timer.
Extras
Spare batteries (the cold kills them fast — in Svalbard, they didn’t even last half a day with very little use). Keep them warm in an inside pocket.
Headlamp with red light so you can see without ruining night vision.
Hand and toe warmers (slip one next to your spare battery).

Camera settings for the northern lights — The cheat sheet

Northern lights dancing Alta, Norway. As you can see, the moon was out, but the aurora was intense enough!
We briefly covered northern lights photography in our exhaustive Aurora Guide, but here is a detailed breakdown of the settings. Please note that they’ll vary based on your camera, the weather, the lighting (moon, houses…) and the intensity of the aurora.
Aperture
Go as wide as your lens allows (f/2.8 is ideal).
Shutter Speed
Start with 10 seconds.
Faster auroras (dancing ribbons) → shorter exposure (5–8 sec).
Slower auroras (steady arcs) → longer exposure (15–20 sec).
ISO
800–1600 for bright displays.
1600–3200 if it’s faint.
Push higher if needed, but watch for grain.
White Balance
Auto often works, but try “Daylight” for more natural greens.
Focus
Autofocus will fail in the dark. Set to manual, pre-focus on a distant light, and tape the ring if needed.
Pro tip: Want that epic shot of you under the aurora? Set a long timer (10–20 seconds), run into position, and then don’t move a muscle. Easier said than done when it’s –30°C, but even the tiniest wiggle shows up in long exposures. Hold still, freeze gracefully, and you’ll look like a legend in the final photo.
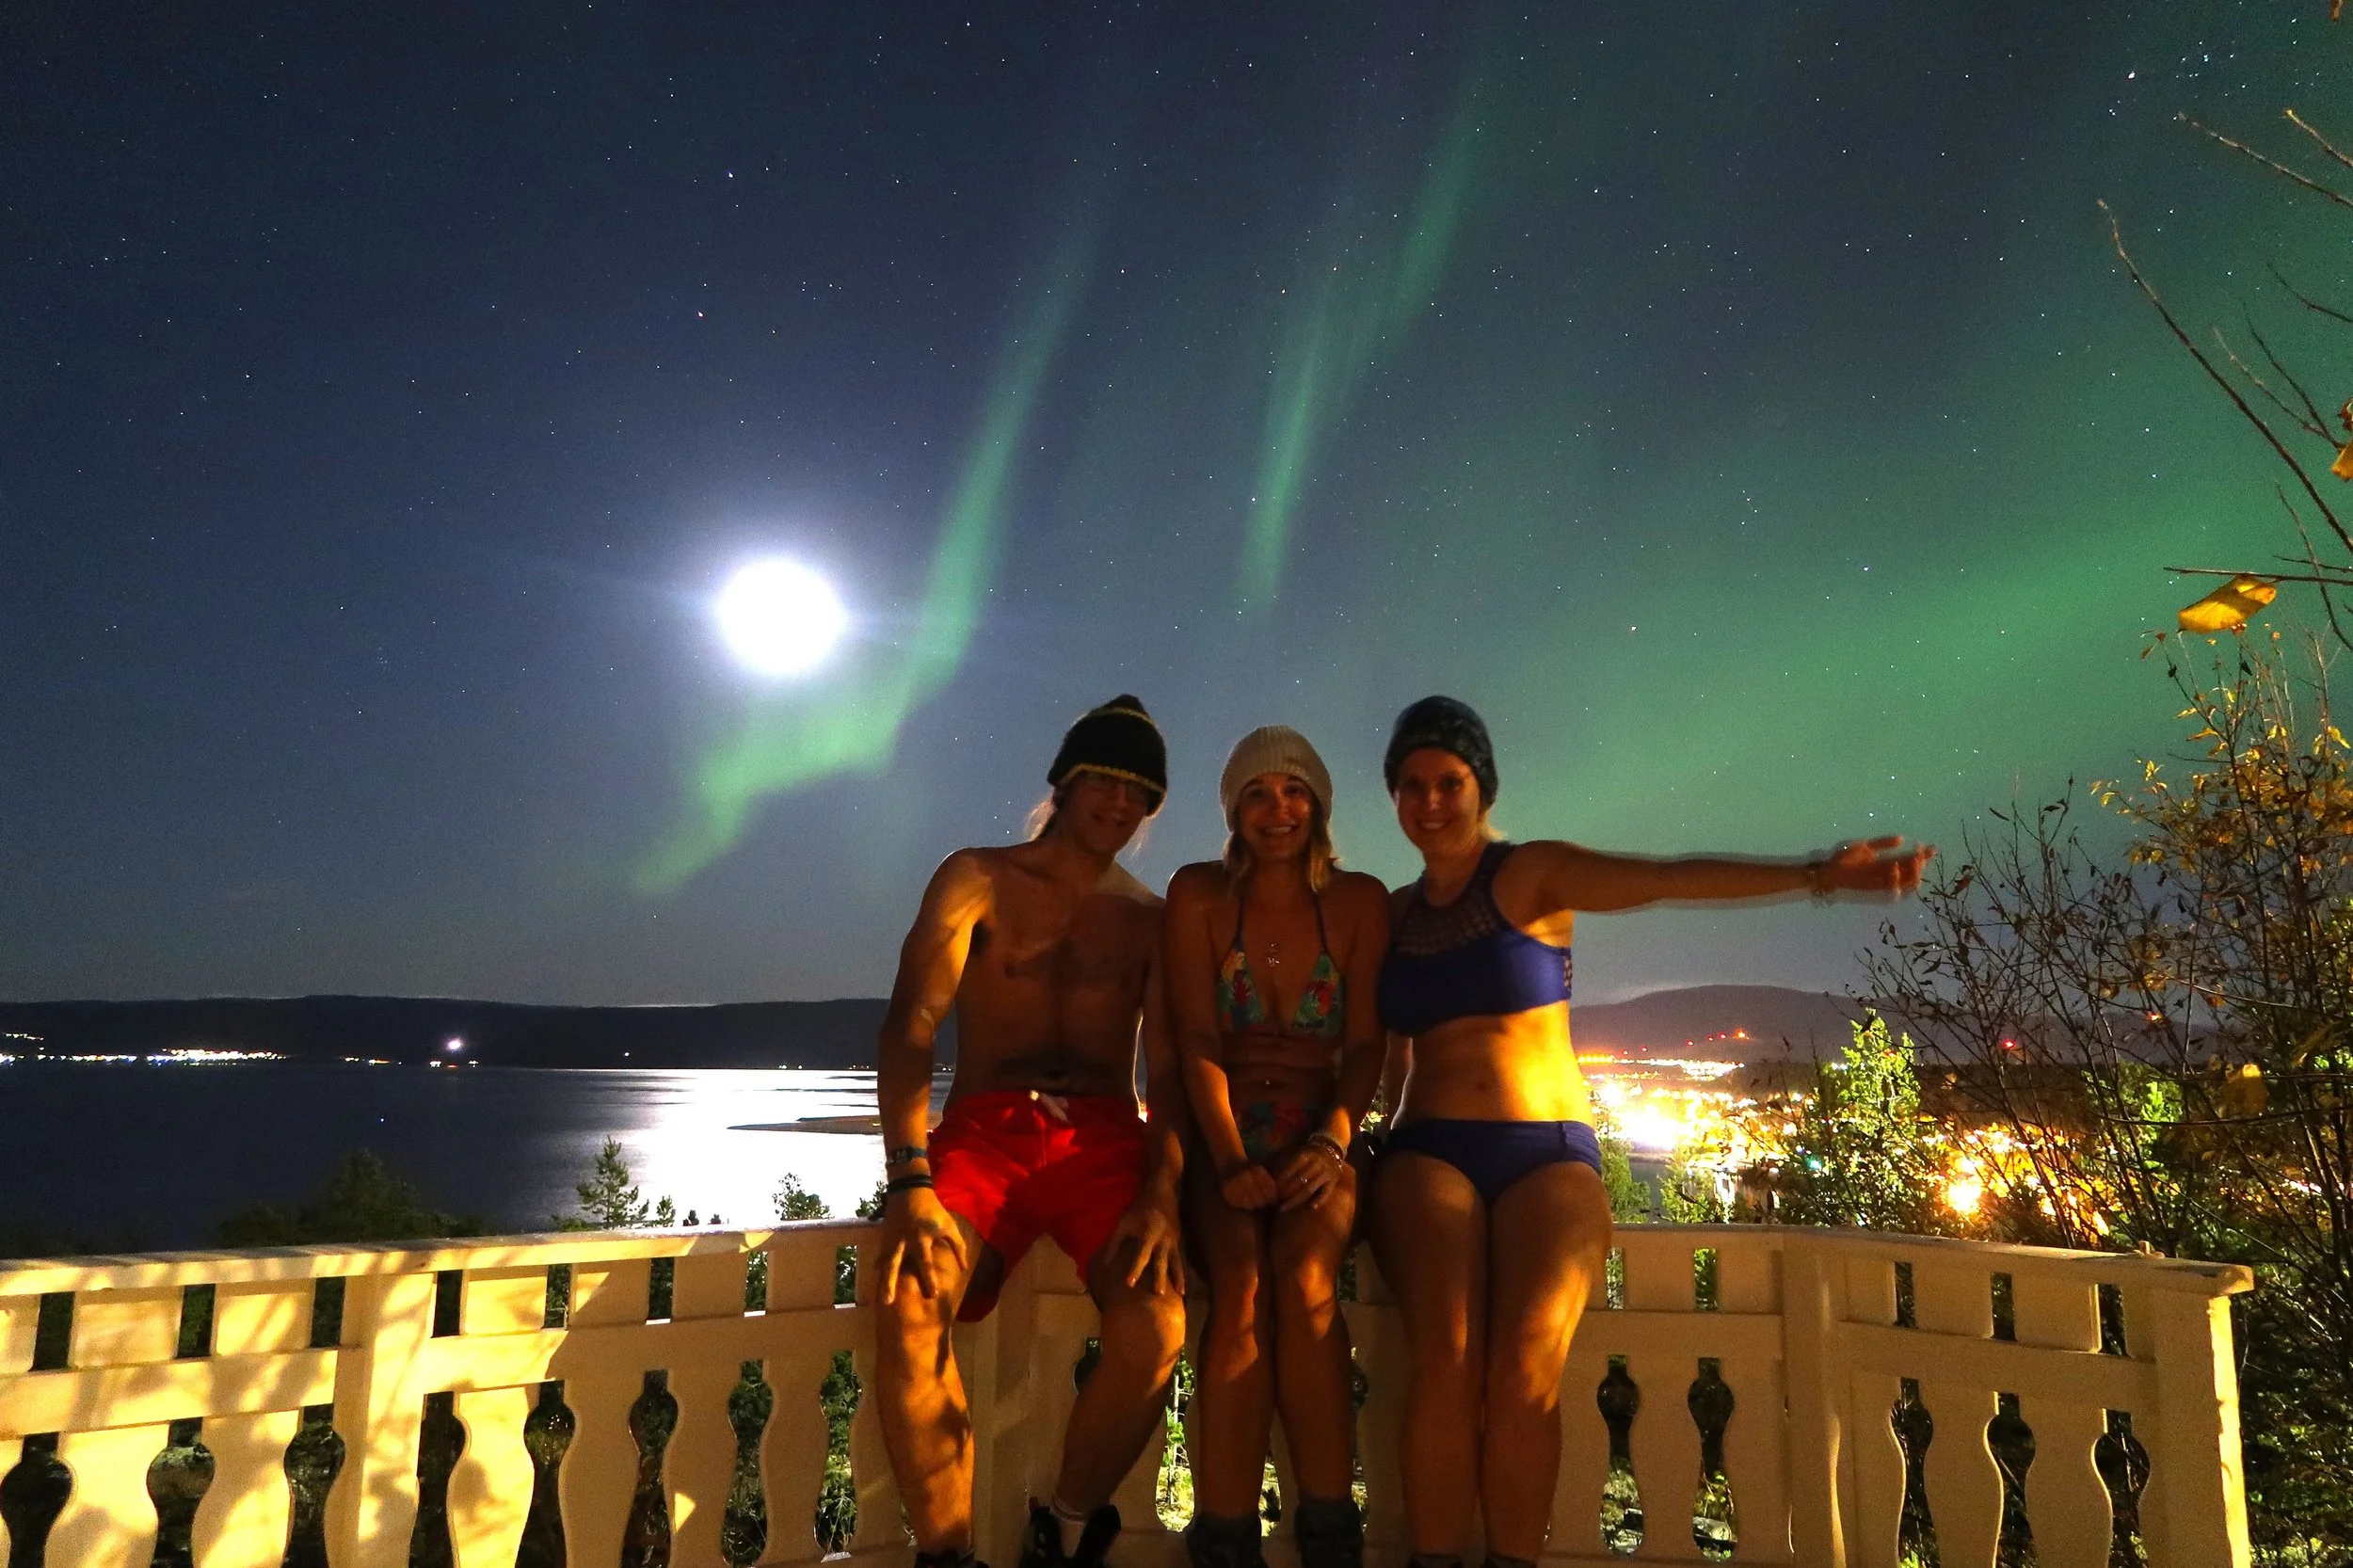
October: northern lights in a bikini
Ok, the moon is trying to compete with the northern lights… but at least you can see our lovely swimsuits!
Can I photograph the northern lights with my smartphone?
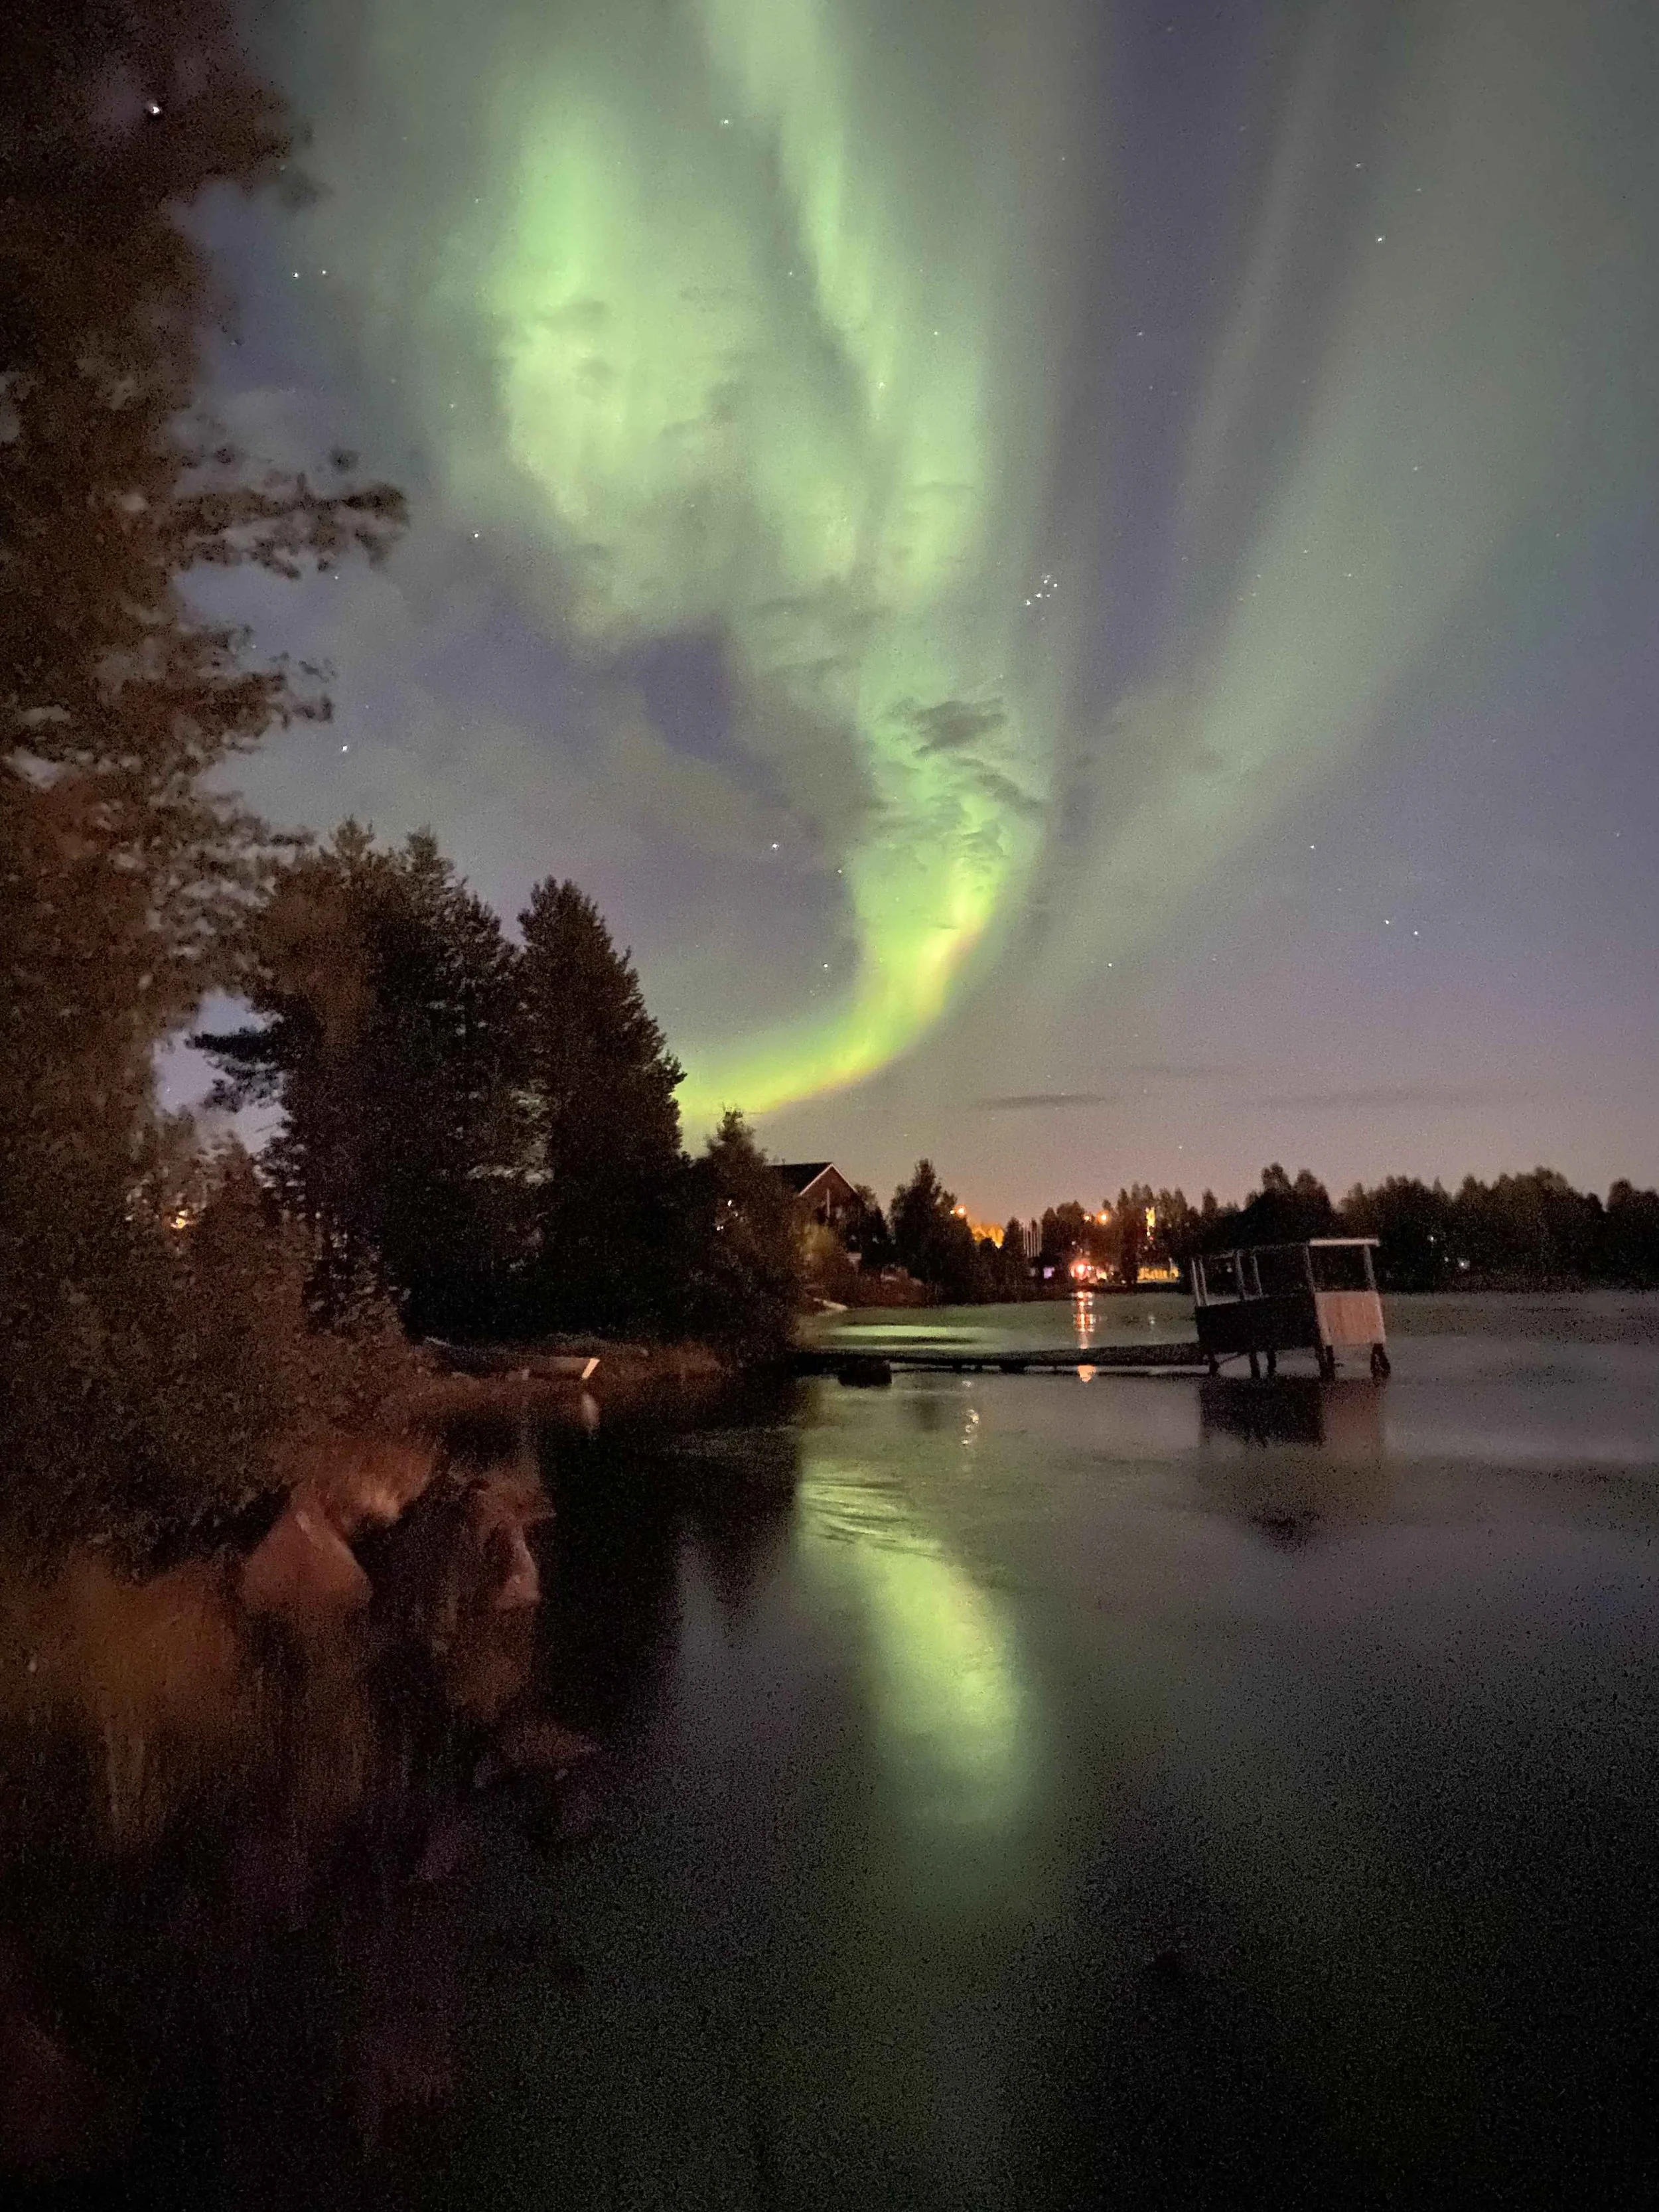
Jake took this shot with his smartphone in Luleå, Sweden. Not bad, but it was a little hazy.
When I started photographing northern lights in 2007 (yes, we have a certain age…), cell phones would return pitch-black pics, and the only way to capture the northern lights was a really good camera. Even a small digital camera wouldn’t capture anything.
Well, times have changed, and I have fabulous news for you: you CAN photograph the northern lights with your phone — if you manage expectations. If Miss Aurora is intense, you’ll actually get great shots. If it’s weak, all you might get is a pale green bulb.
Here’s how to set up your phone for northern lights:
Use Night Mode or Pro Mode.
Place on tripod.
ISO around 1600, shutter 10s if adjustable.
Some apps (e.g. NightCap) give extra control.

Penguin tip:
See a wispy “cloud” sliding across the night sky while the stars still shine through? It might not be a cloud at all — it could be the aurora sneaking in. Point your camera, switch to manual, and take a test shot. If the patch glows green in the picture, you’ve just caught the Northern Lights warming up, so stick around — the show could be about to kick off.
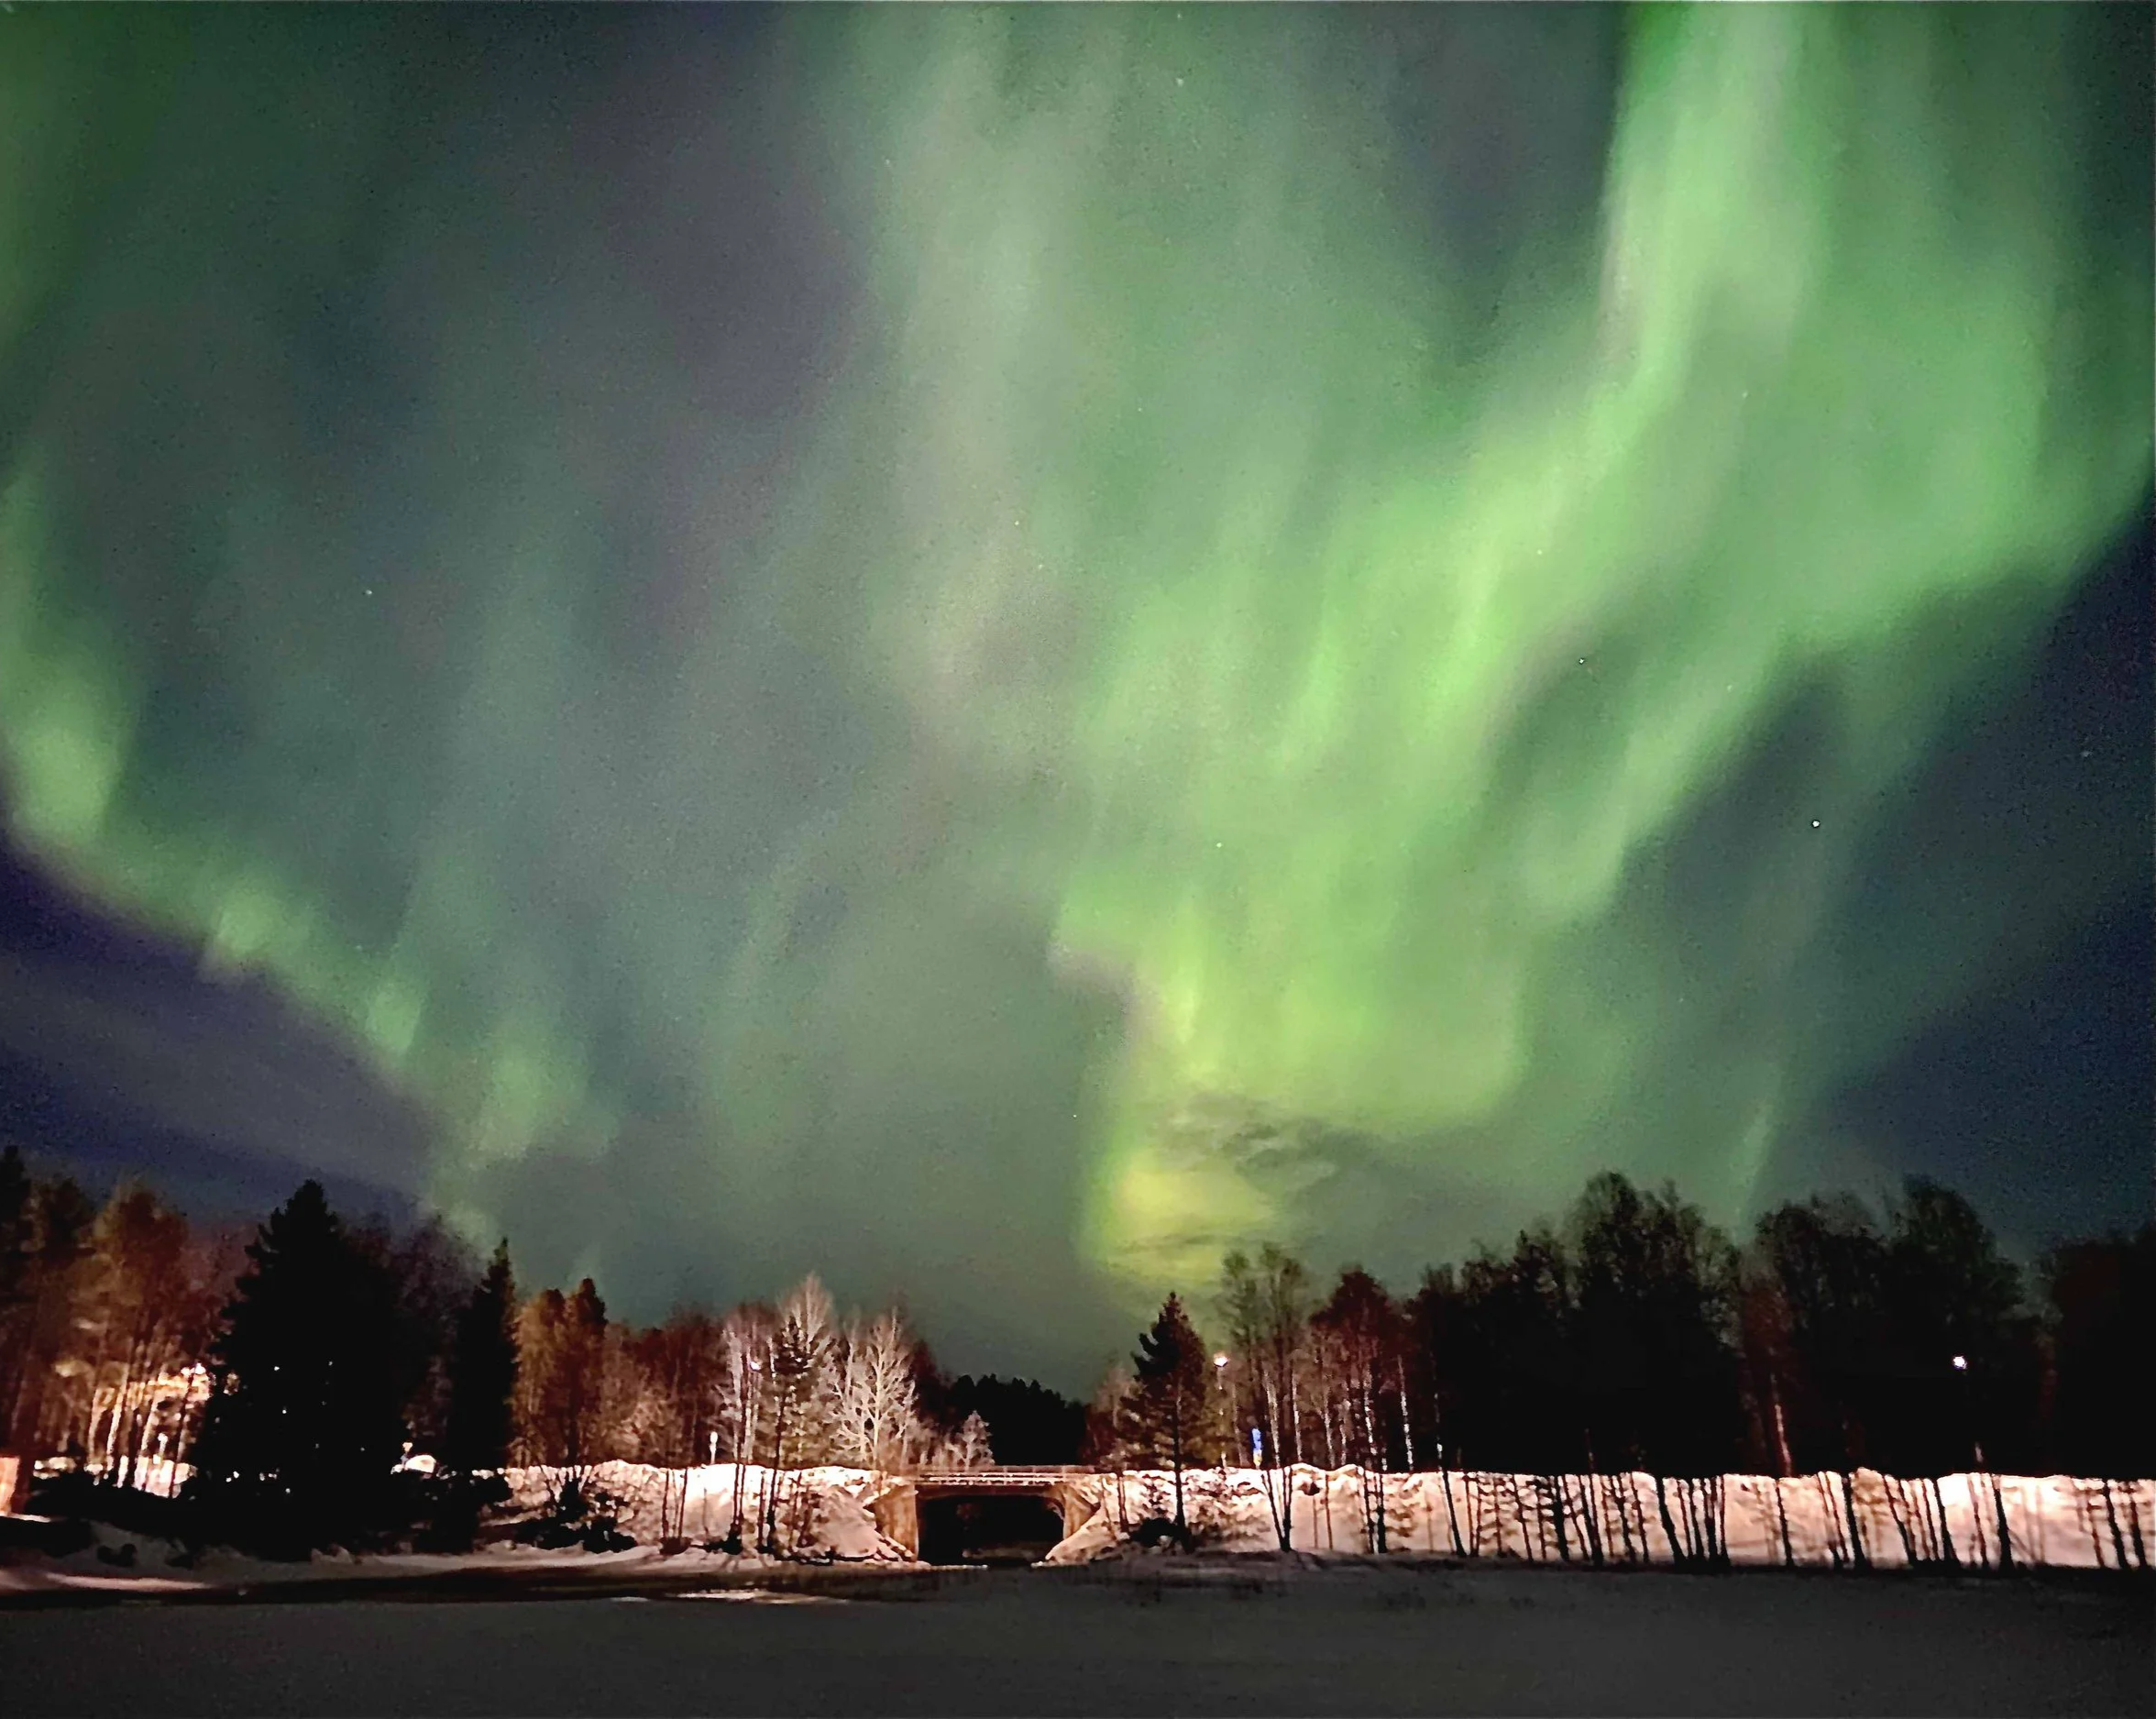
Composition tips

In October, we had to drive to the other side of the Lofoten Islands to get a clear sky … and it was so worth it!
Foreground makes magic. Add trees, mountains, or even your friends to give scale. For example, the Lofoten Islands might have moody weather, but you can’t have a more dramatic background than that!
Rule of thirds. Don’t just center the lights — frame them with landscape.
Reflections. Lakes, fjords, or snow can double the drama.
Move around. Don’t stand in one spot all night.
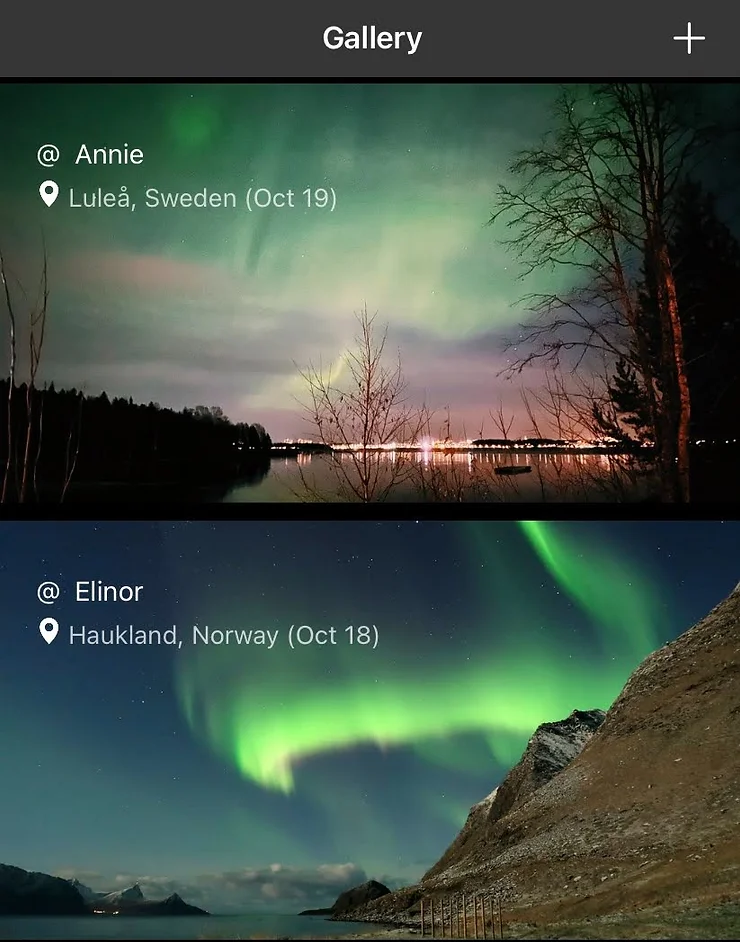
Oh, thank you My Aurora App for featuring our picture!
Staying warm while shooting

Eli doesn’t feel the cold. Seriously, if there’s the tiniest possibility of seeing the northern lights, she’ll stay out for hours! Here in Swedish Lapland.
Unfortunately, northern lights don’t happen in the Caribbean, or in summer. Soooo, you’ll most likely be cold. Very cold. Despite a moody weather, fall/autumn is great to chase the northern lights, as it’s still warm enough to stay outside for hours.
In the heart of the winter, it’s a good idea to have a car or your accommodation nearby (for example, a cool cabin by a frozen lake on Booking — search below).
And if you don’t have a hot place to go back to, below are a few accessories you can use:
Fingerless mitts with liners or thin merino gloves that let you tweak settings without frostbite. We swear by touchscreen gloves.
A foam pad or mat — kneeling in snow kills the mood (and your knees).
Hot drinks in a thermos make long waits less brutal.
An amazing wife who stays hours outside and texts you when there’s auroral activity (yep, that’s me, Eli).
(For a full survival wardrobe, see our guide: What to Wear for a Northern Lights Trip.)

🧳 Plan Your Arctic Adventure
✈️ Find flights to the Arctic — fly into Tromsø, Alta, Rovaniemi, Kiruna, Reykjavik or Fairbanks for the best aurora access.
🏨 Find hotels for Northern Lights trips — glass igloos, cozy cabins, and aurora lodges we love.
🚗 Compare Arctic car rentals — chase the lights on your own schedule.
🧭 Heymondo Travel Insurance (5–15% off) — protect yourself (and your camera gear) from Arctic surprises.
🧳 Arctic gear — check our travel essentials on Amazon.
🐾 Fahlo Wildlife Bracelets (20% off) — track a real Arctic animal and stay connected to the north.
Planning a Northern Lights Trip? ✨
Free aurora checklist straight to your inbox.
Thank you, little penguin! 🐧
Check your inbox — our best Northern Lights tips are on the way.
Northern lights photography: FAQ
Can you photograph the Northern Lights in summer?
Nope. It’s not our fault, it’s the midnight sun.
Brief September aurora in Kemijärvi, Finnish Lapland.
Why do my photos look green when I barely saw color with my eyes?
Your camera sensor picks up more light than the naked eye, so faint auroras often appear greener or more colorful in photos.
What’s the best phone for Northern Lights photos?
Flagships like iPhone 14/15 Pro or Google Pixel 7/8 perform best, but any phone with Night Mode on a tripod can work.
Can I use flash?
No. You’ll just light up the snow in front of you and annoy everyone else.
How long should exposures be?
Usually 5–15 seconds. Too long and the aurora will blur into a green mush.
What should I wear when photographing the Northern Lights?
Layer like a pro: start with merino or thermal underwear, throw on a cozy fleece or down mid-layer, and finish with a windproof parka. Top it off with a beanie, insulated gloves, and boots tough enough for icy ground. We’ve shared more packing secrets in our Ultimate Arctic Travel Guide and our article on What to Wear for a Northern Lights Trip.
When’s the best time to photograph the Northern Lights?
The aurora can appear anytime it’s dark, but your best odds are between late September and early April, usually from 10 pm to 2 am. For a full month-by-month breakdown (and tips on avoiding cloudy nights), check out our guide to the Best Time to See the Northern Lights.
Can I film the Northern Lights?
Yes — but it’s tough. Aurora move quickly, and cameras don’t love low light. High-end mirrorless cameras with fast lenses can capture short clips, especially during strong displays. For most people, time-lapse mode (stitching photos into a video) works best. Smartphones can record aurora too, but expect grainy footage — the glow won’t look as crisp as in still photos.
Why do the Northern Lights have different colors?
The classic green comes from oxygen particles high in the atmosphere. Reds appear when oxygen reacts even higher up, while purples and blues are usually from nitrogen. Most nights you’ll see shades of green, but during strong solar storms the sky can explode into rainbow-like displays.
Is travel insurance really necessary for an aurora trip?
Definitely. The north is as unpredictable as it is beautiful — snowstorms, frozen roads, even the occasional reindeer crossing. If you’re booking outdoor adventures like snowmobiling or husky sledding, solid insurance is a must. We rely on Heymondo, which covers outdoor activities and usually gives 5–15% off. Grab your discounted policy here.
Where’s the best place to go to photograph the Northern Lights?
It depends on how far you’re willing to travel. For Europe, we’ve broken down the top spots in our detailed guide. If you’re dreaming bigger, keep an eye out for our upcoming Best Places to See the Northern Lights in the World — from Alaska to New Zealand’s Southern Lights.
Got any quick tricks before I head out?
Yep. Check the aurora forecast, pack spare batteries in your inside pocket, and don’t underestimate how fast –20°C drains your gear. We rounded up our best advice in Northern Lights for Dummies — it’s the perfect pre-trip read.
Here is our playlist to call the northern lights (it works):
Aurora photography is part science, part patience, and part frozen fingers fumbling with dials in the dark. Don’t stress about perfection — even pros take a ton of duds. The key is to experiment, stay warm, and keep shooting.
When the sky finally bursts into ribbons of green and purple, you’ll be glad you brought the tripod, extra batteries, and a little stubbornness. And hey — worst case, you’ve got an excuse to go back north again (and trust us, you’re gonna want to).
Dreaming about the northern lights? Don’t miss our dedicated aurora guides:
✨ Northern Lights for Dummies — How to actually see the aurora (without freezing your butt off or waiting 12 nights in vain).
📅 Best Time to See the Northern Lights — Month-by-month, season-by-season, when the sky is most likely to dance.
🌍 Best Places to See the Northern Lights in the World — From Alaska to the Southern lights, the aurora knows no borders.
🇪🇺 Best Places to See the Northern Lights in Europe — Iceland, Norway, Lapland and beyond.
🌌 What Are the Northern Lights? — The science, the legends, and the cosmic drama behind those glowing ribbons.
🧤 What to Wear for a Northern Lights Trip — Layer up or freeze up: the packing list you actually need at –30°C.
🏨 Best Northern Lights Hotels in Europe — Sleep under the aurora in glass igloos, ice hotels, and hot-tub hideaways.
🌌 Northern Lights in Norway — Your guide to clear skies, fjords, and the best aurora spots.